How to use Wix Automations to send data via webhooks

Integrating external systems with Wix Automations using webhooks can streamline your workflow. With best practices and troubleshooting tips included, you'll be well-equipped to handle any challenges. Let’s explore the step-by-step process of setting up webhooks, ensuring seamless and efficient integration.
What is Wix Automations?
Wix Automations is a tool that allows users to automate various repetitive tasks on their website, improving efficiency and saving time.
It works by setting up rules based on triggers (specific events, such as form submissions or new subscribers) that automatically perform actions like sending emails, adding users to a mailing list, or showing personalized content.
These automation tools are helpful for tasks like customer engagement, lead nurturing, and keeping contacts organized.
Step-by-step guide to setting up webhooks in Wix
Here are the steps involved in integrating your external systems with a webhook:
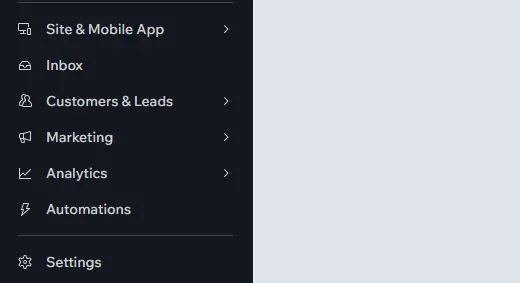
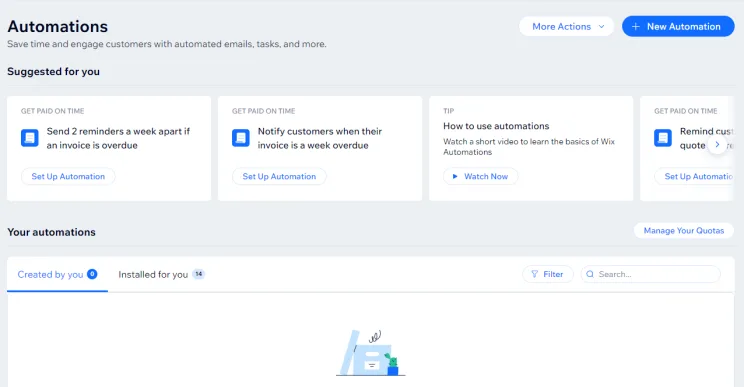
1. Navigate to the Automations section in your site's dashboard
2. Click the "+ New Automation" button in the top right corner.
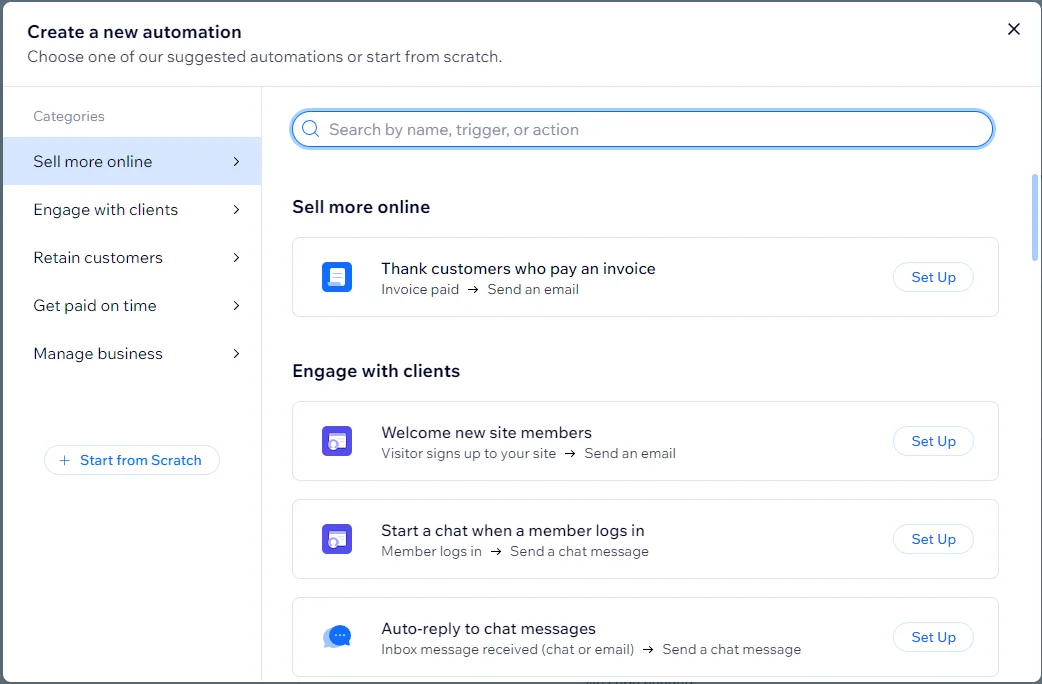
3. Select "Start from Scratch" or a suggested automation template.
4. Click on the automation title to provide a descriptive name.
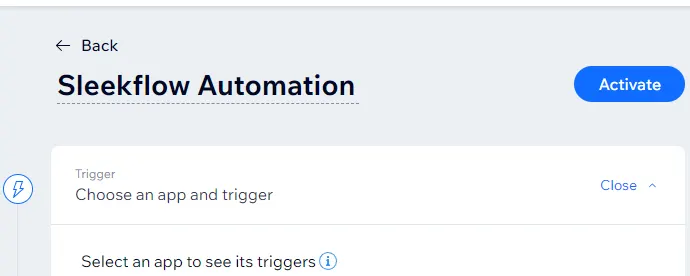
5. Specify the trigger event that will initiate the automation.
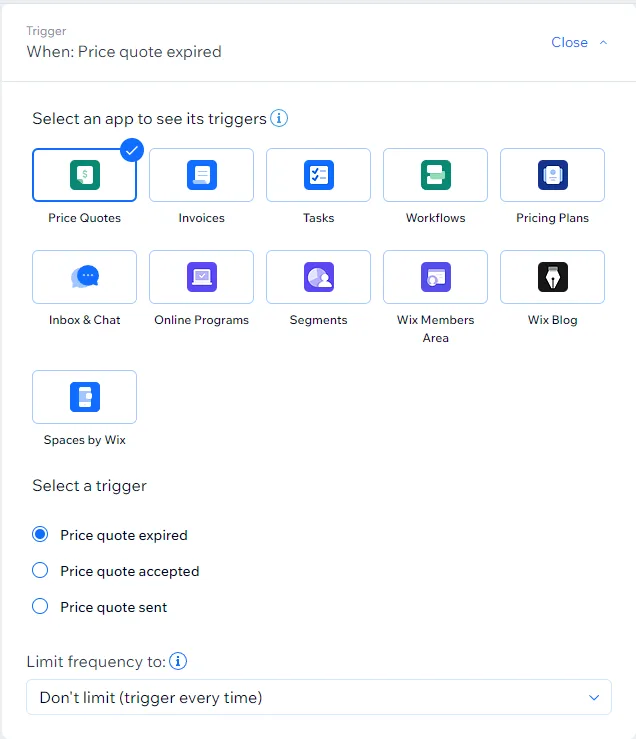
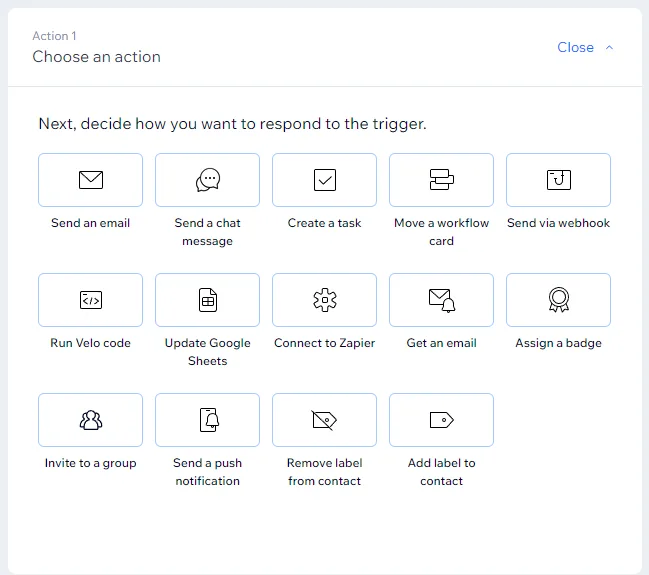
6. For the automation's action, choose "Send via webhook."
7. Enter the “Target URL” where you want the webhook to send notifications.
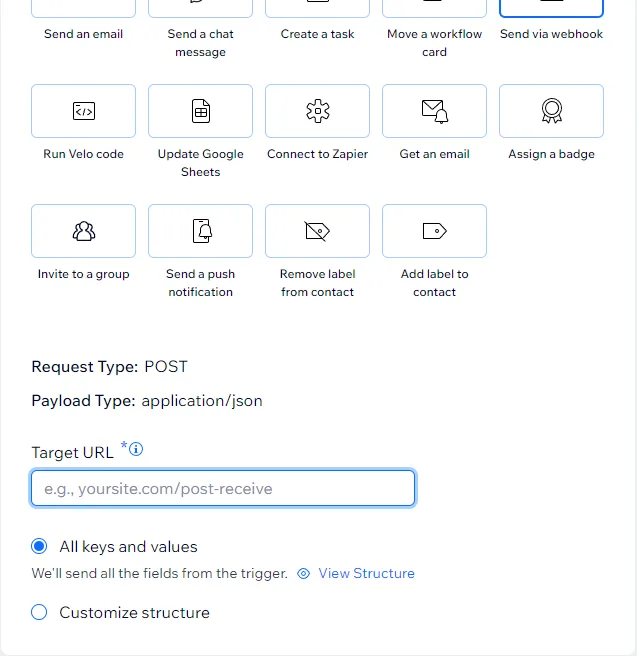
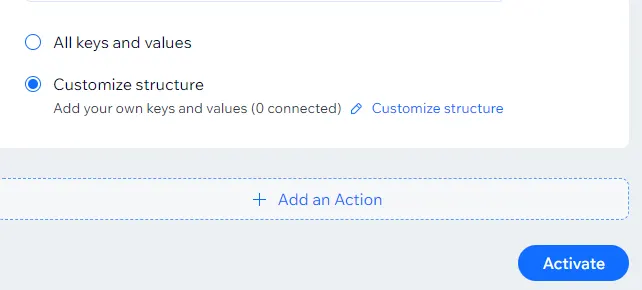
8. Decide whether you want the webhook to send all available data from the trigger event or only specific data:
"All keys and values" option: The webhook will send all data from the trigger event, such as all form fields, if the trigger is a form submission.
"Customize structure" option: You can send only certain pieces of data from the trigger event by mapping specific keys to the corresponding values.
Click "View Structure" to see all the data sent by the webhook.
9. If you choose the "Customize structure" option, then:
Click "Customize structure" next to "Add your keys and values."
Enter a descriptive Key name to identify the data being sent.
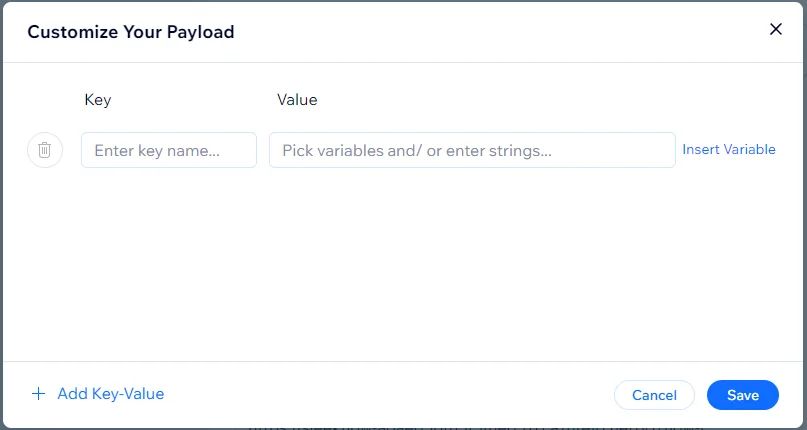
Click "Insert Variable" next to “Value” to select the specific data you want to include.
(Optional) Add additional key-value pairs by clicking "+ Add Key-Value."
When you're done configuring the webhook, click "Save."
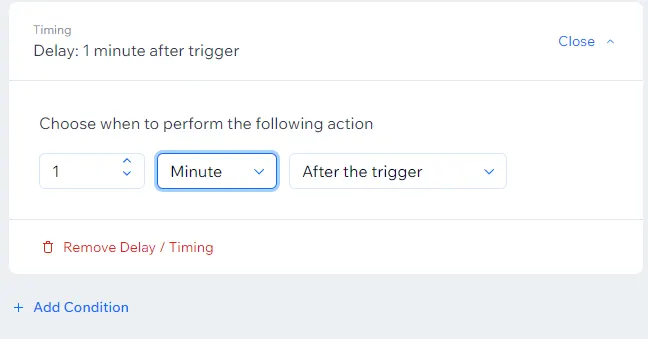
10. Select the desired timing for when the automation should run.
11. Finally, click "Activate" or "Save" to finalize the automation setup.
Handling delayed or duplicate webhook events
Delayed or out-of-order events:
If your server fails to respond with a 200 status code within 1250 milliseconds, additional delivery attempts will be made for the webhook event.
This delay in delivery could result in subsequent events being received before earlier ones.
Resend webhooks will always include the original event data, not data from the resend time.
For more details, refer to the Webhook Resend Policy documentation.
Duplicate events:
Multiple copies of your app's events are stored on different servers to minimize data loss and ensure event continuity.
However, if one of the servers holding a copy is inaccessible during event delivery, you may receive the same event multiple times.
It is recommended that your application be designed to handle and de-duplicate any received webhook events properly.
If a webhook fails to deliver due to a timeout error (1250 ms) or if a 200 status code is not received, the system will make up to 12 additional attempts to send the webhook based on the following retry schedule:
Webhook retry schedule and delivery attempts
If a webhook fails to deliver due to a timeout error (1250 ms) or a 200 status code is not received, the system will make additional attempts to send the webhook.
The retry schedule starts with the first attempt made 1 minute after the initial failure. Subsequent attempts are made at increasing intervals.
The second attempt is 10 minutes after the previous failure, the third attempt is 1 hour after the previous failure, and the fourth and fifth attempts are 2 hours after the previous failure.
The sixth through ninth attempts are 4 hours after the previous failure, and the tenth and eleventh attempts are 8 hours after the previous failure.
The twelfth and final attempt is 12 hours after the previous failure.
Best practices for managing webhook responses and updates
Respond with a 200 status code upon receiving a webhook to confirm the successful receipt.
Periodically make API requests to verify that received webhooks accurately reflect the current state of your app or website.
Ensure your server can properly handle out-of-order and duplicate webhook event notifications.
Update webhook configurations when you see alerts about outdated webhook URLs in the Developer Center.
Staying on top of webhook updates will prevent disruptions to your application's functionality.
Extend Wix Automations with Zapier & SleekFlow
You can connect Wix with external platforms to expand your automation capabilities without manual intervention. Wix Automations covers the essential actions for your site, but if you need advanced features, you can connect Wix with SleekFlow via Zapier.
Let's say you run a spa business on Wix, and your customers can book various services, such as massages or facials, through your site. You set up a Wix Automation with a trigger for "booking" when a customer schedules a service.
When the trigger is activated (i.e., someone makes a booking), the action is to create a Custom Object Record in SleekFlow. For example:
Trigger (Booking): A customer books a one-hour massage via Wix.
Action (SleekFlow): SleekFlow creates a custom object record for that booking. The record might include details such as:
Customer Name: Sarah Lee
Booking ID: #12345
Service Booked: 1-hour Massage
Date & Time: October 5th, 2024, at 2:00 PM
Price: $120
Status: Confirmed
With this integration, each booking automatically gets tracked in SleekFlow, allowing you to manage customer interactions, follow-ups, or marketing campaigns based on their bookings.
Integrate your existing tech stack with SleekFlow
Automate workflows with personalized experiences to delight customers and optimize resources effectively.


