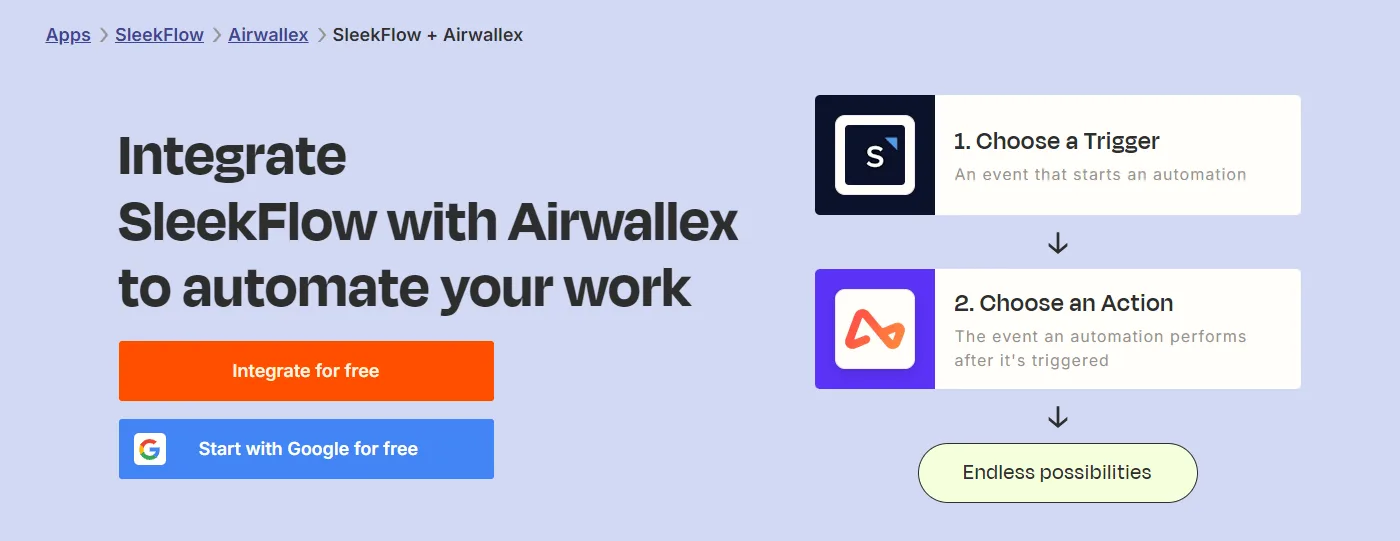
Guide to integrating Airwallex: Native, Zapier, and webhooks

Whether you're managing e-commerce checkouts or automating workflows, Airwallex offers flexible solutions. Integrating Airwallex into your system can streamline your payment processes and improve efficiency. Depending on your needs, you can choose between native integration, Zapier, or webhook integration.
Method 1: Native Integration
Airwallex provides native connections with platforms from accounting services to e-commerce. They include ApprovalMax, Xero, Shopify, and more. Common use cases are:
Invoice payments issued from Xeros
Shopify checkouts
To connect your platform with Airwallex, you will generally go through the procedures on their web app, log in to the corresponding accounts, follow the instructions, and your platform will be ready to use.
Here’s few examples of platforms that Airwallex can connect with:
Airwallex
Amazon
ApprovalMax
Asperato
Hubspot
Hubstudio
Lazada
Magento
NetSuite
Method 2: Zapier
If your platform is not on the native integration list, you can connect it with Airwallex using low-code/no-code. Zapier offers various triggers and actions to help automate your workflows.

These nodes cover events like card balance, cardholder, and transactions. Yet, you may want to track events other than those. Webhook integration is the most flexible way to achieve this.
Method 3: Webhook Integration
Airwallex's webhooks provide real-time push notifications to your app on account events, like payment confirmations or chargebacks, where the result doesn't immediately follow an API call.
The event types you can listen to include:
Account capability
Account status
Batch transfers
Billing
Conversions
Deposits
Direct debit payouts
Funds Split
Global Accounts
Issuing
Linked Accounts
Online payments
Payouts
Platform
PSP Agnostic
RFI
Scale Charges
Scale Transfers
4 Steps to create a webhook subscription to your Airwallex
Log into the Airwallex web app.
Click Developer > Click Webhooks > You will arrive at the Summary page.
Click Add Webhook to configure the notification URL and the events you want to listen for. You can tick the boxes for even the specific status of the event listened e.g.; you can listen to just "payment created" without listening to "payment cancelled." Be aware that the notification URL is the only field you can fill in for the destination. That means if the webhook URL requires any API token, trigger ID, or verification code for authentication, there could hardly be ways to put it in, which may require extra dev efforts.
(Optional) The "Test event" button in the demo environment allows you to test webhook events against the specified notification URL.
Click "Submit."
Key considerations for webhook configuration and management
Webhook endpoint configuration - Use an HTTPS URL for your webhook endpoint for security. Your server must be correctly configured to support HTTPS.
Retrying failed webhook notifications - If your webhook endpoint is unavailable or takes too long to respond, Airwallex will resend the notification message several times over the course of three days until a successful response is returned.
Promptly acknowledging webhook events - If your webhook script performs complex logic, it may timeout before Airwallex sees its complete execution. Ideally, your webhook handling code (acknowledging receipt of an event by returning a 200 status code) is separate from any processing performed for that event.
Handling duplicate webhook events - Webhook endpoints might occasionally receive the same event more than once. We advise you to guard against receiving duplicate events by making your event processing idempotent.
To de-duplicate events, please use the "id" field sent on the event. Across retry, the same event keeps the same "id".
Dealing with out-of-order webhook events - Airwallex does not guarantee delivery of events in the order they are generated. Your endpoint should not expect delivery of these events in this order and should handle this accordingly. You can also use created_at to order at the event.
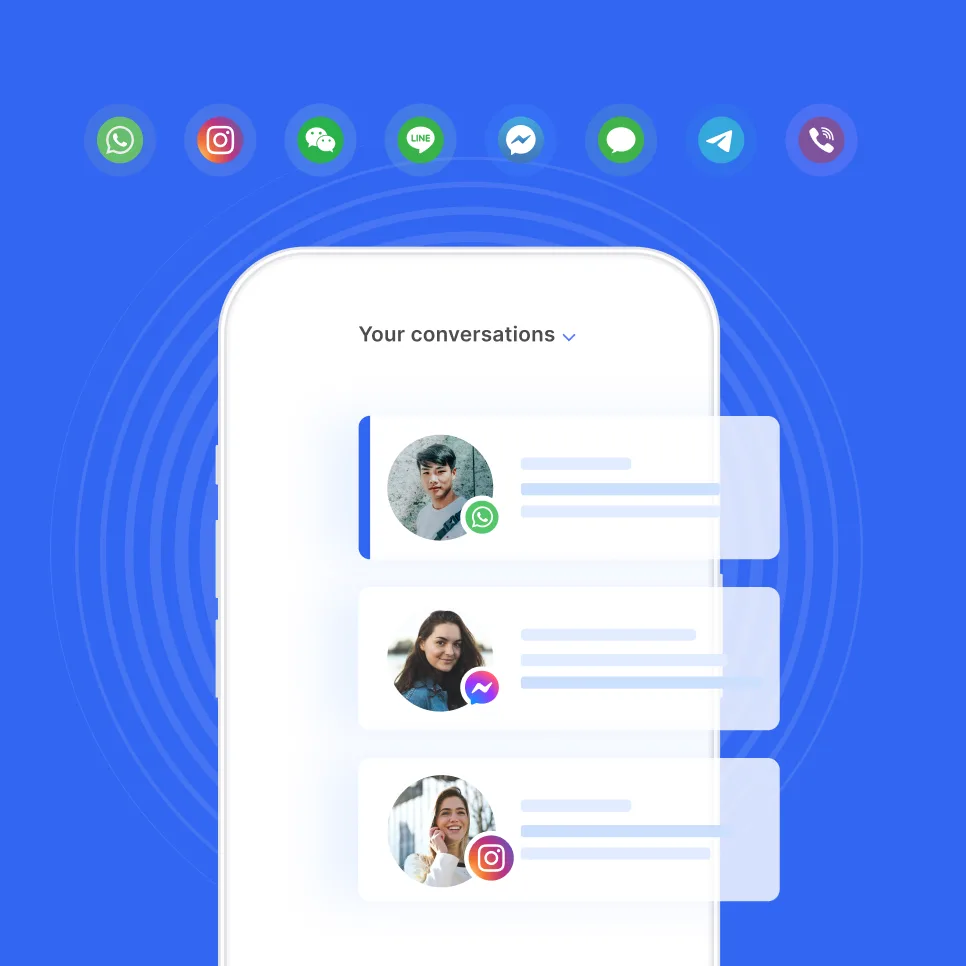
Streamlining business transfers with Airwallex and SleekFlow integration
Businesses increasingly turn to Airwallex to save on everyday transfers, especially when handling payments from international customers, suppliers, and staff. Integrating Airwallex with SleekFlow through Zapier allows businesses to elevate their operations through automated communication channels.
For example, when a transaction is made on Airwallex, such as an invoice payment, SleekFlow can instantly notify the supplier via WhatsApp, confirming the transaction's completion.
This integration offers a more seamless and direct communication line between businesses and their partners.
It's ideal for businesses looking to optimize their workflow while maintaining real-time, personalized interactions with key stakeholders.
Integrate your existing tech stack with SleekFlow
Automate workflows with personalized experiences to delight customers and optimize resources effectively.
Frequently Asked Questions
Is Airwallex a payment gateway?
What is the difference between Stripe and Airwallex?
Does Airwallex integrate with QuickBooks?
Recommended for you


