What’s new in SleekFlow: Custom Catalog
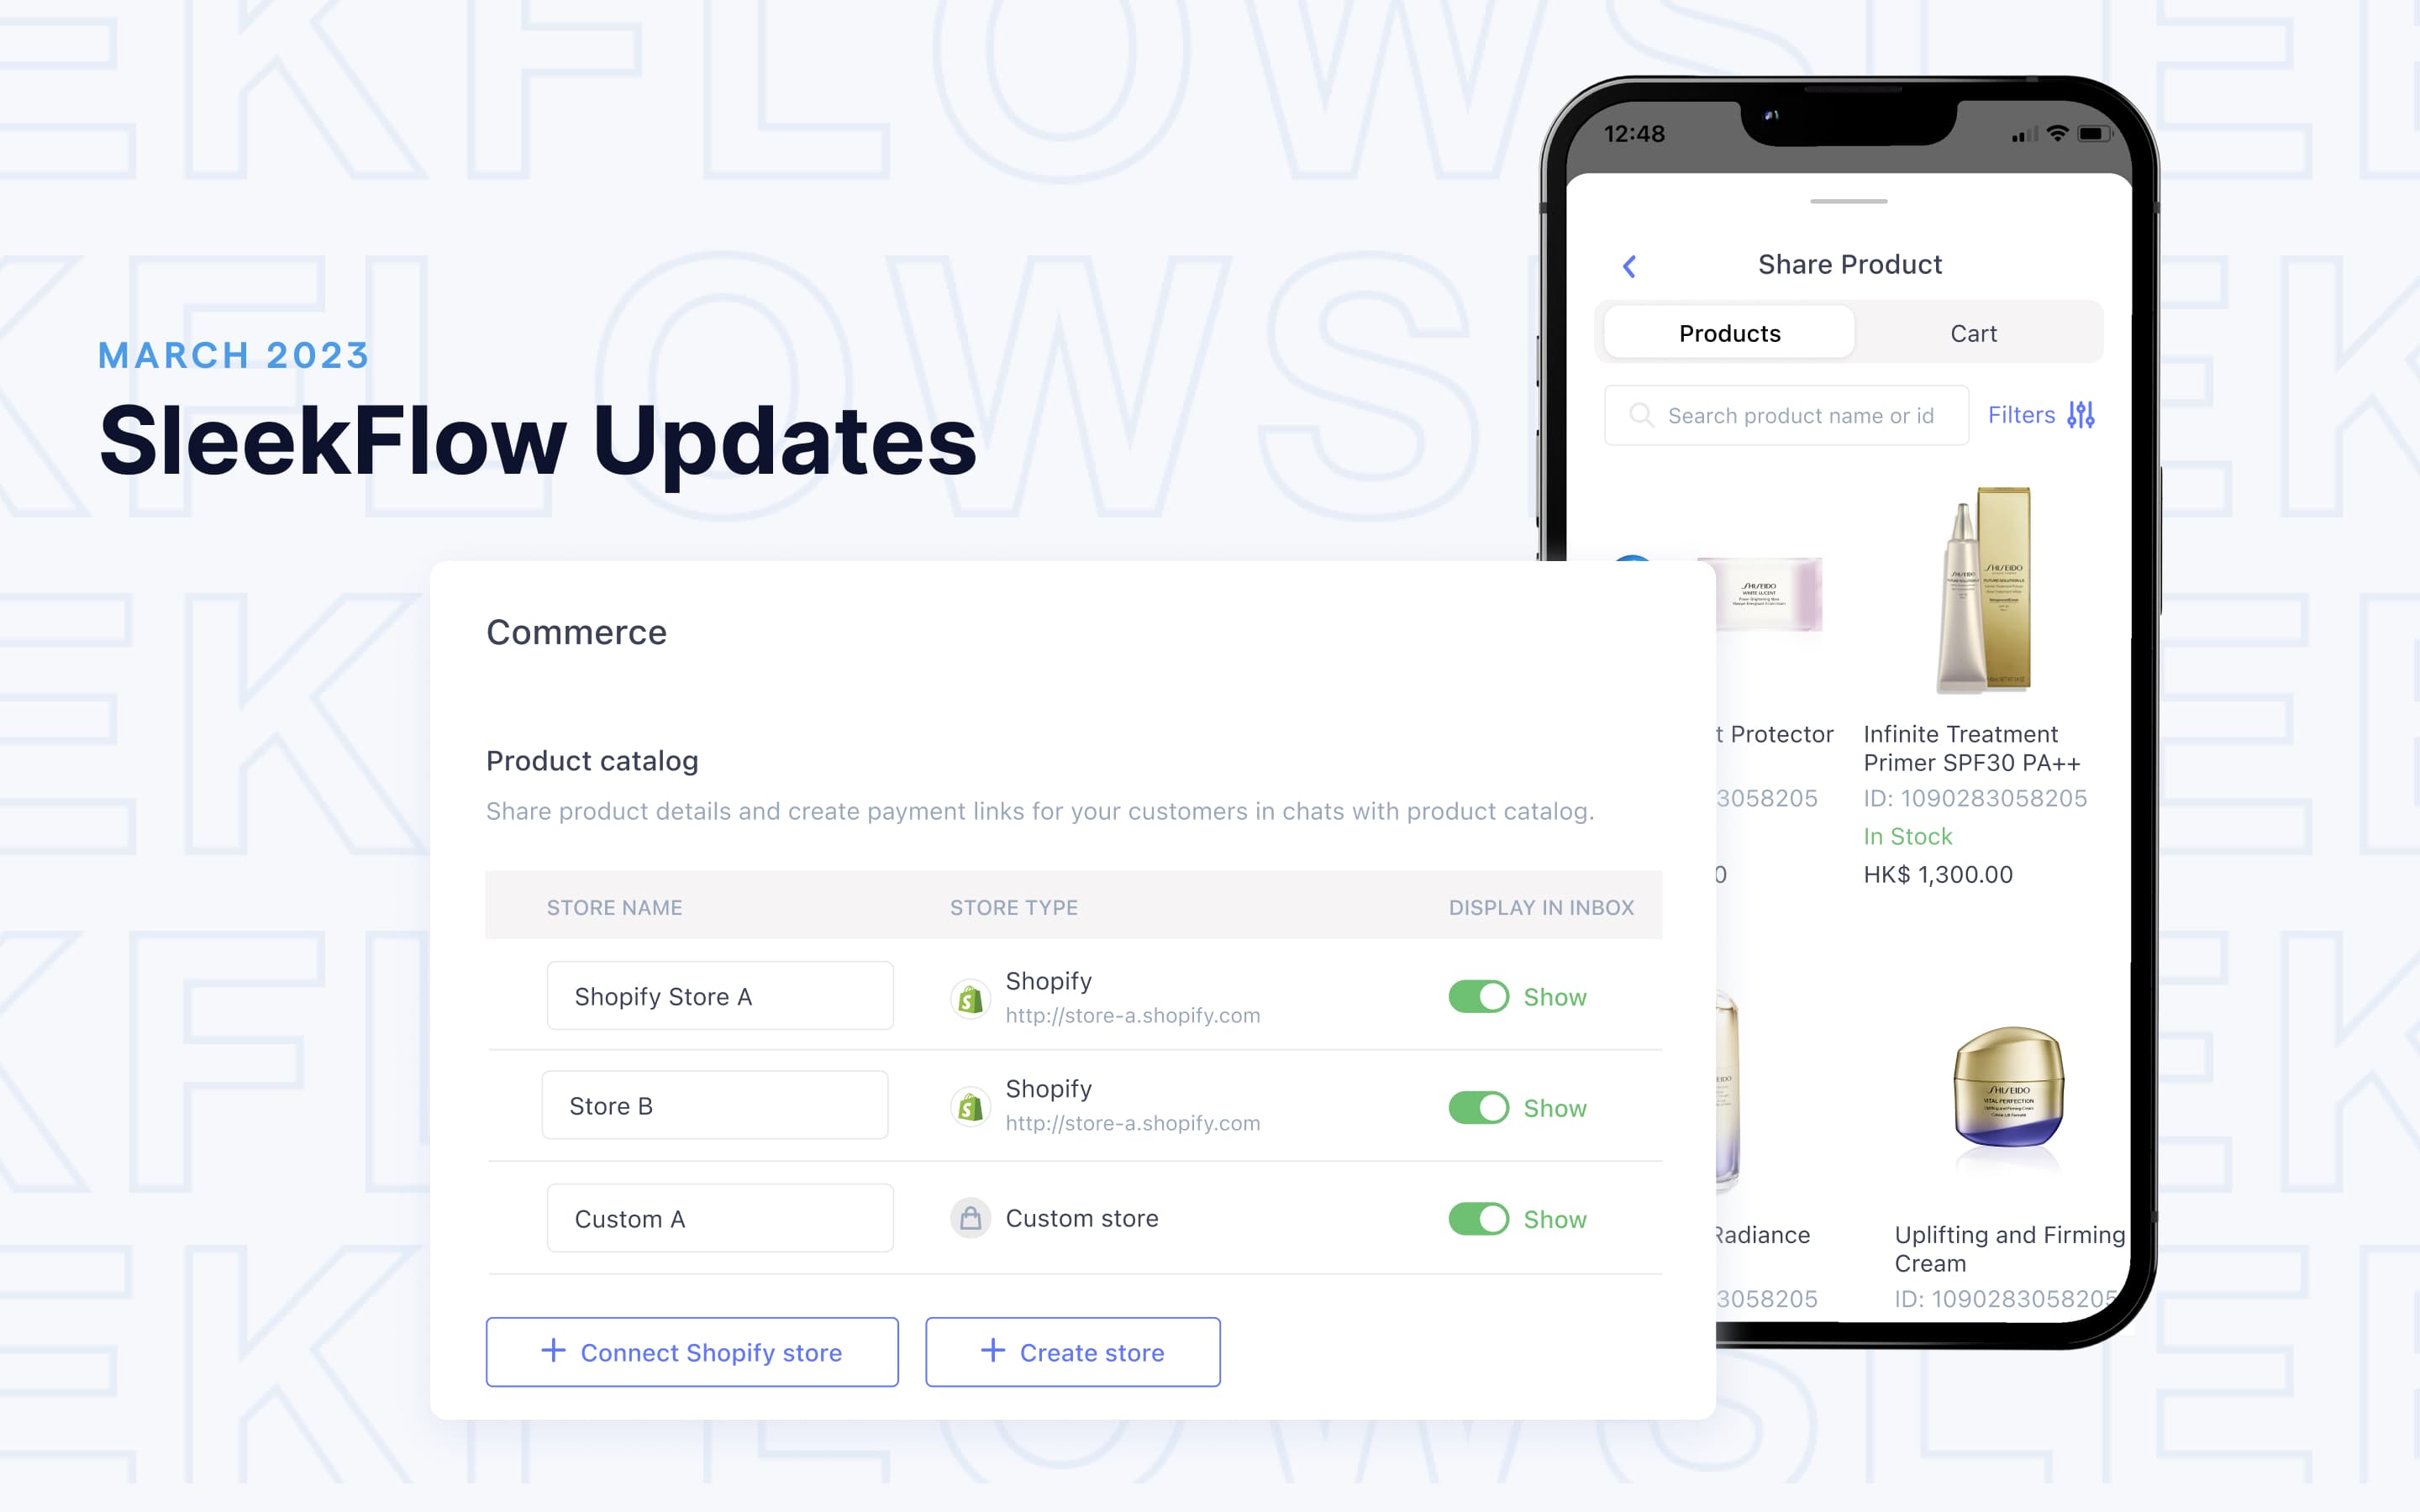
SleekFlow has added a new sales enablement tool to our omnichannel sales solution - the Custom Catalog. Building on the momentum of the SleekFlow-Shopify integration, the Custom Catalog expands the ability to share product information, customize shopping carts and send payment links to every merchant.
Over the months, Shopify merchants have shown how building convenient shopping experiences in chat can drive sales and loyalty. From accepting borderless payments to offering personalized during-sales service, product and payment link sharing is helpful in many ways. Now, whether using a different e-commerce solution or just starting with selling on social, you can launch a shop in your favorite messaging apps within minutes on SleekFlow.
What is SleekFlow Custom Catalog
SleekFlow's in-app catalog allows sales associates to draft orders and customize a shopping cart on behalf of the customers. They can share two types of information with the customer via chat: product links and payment links (if you have completed the Stripe integration).
A product link contains the product name, image, description, and price. A payment link contains a shopping cart that supports multiple item orders and checkout. By sharing these links through the SleekFlow omnichannel inbox, your customers can pay in whatever messaging channels they prefer, and you can track omnichannel sales activities easily.
Previously, we only supported Shopify merchants to sync their product catalog with SleekFlow. Now, we are giving access to everyone. Merchants can create a shop and start selling on social media in minutes, and no coding is required.
How to use the SleekFlow Custom Catalog
1. Create a new product catalog
Get your SleekFlow shop up and running within minutes. There are two ways to create a Custom Catalog on SleekFlow:
Upload a product catalog as a CSV file (we have prepared a sample CSV file at your disposal);
Build a Custom Catalog from scratch by filling in details on our pre-made template (including item name, category, price, image, description, stock keeping unit, webpage link)
This feature is available for all users, including free Startup plan subscribers. You can import up to 500 products to SleekFlow for free. Follow the steps below to activate the Custom Catalog:
Step 1: Go to Channel, under Commerce Extension, click Manage Product Catalog
Step 2: Click + Create Store
Step 3: In Store Setting, fill in your store name, supported languages, supported currency and product sharing message template
Step 4: In Products, click Add Product to fill in the product details into a template (or import a CSV file)
Step 5: Switch on the Show status to enable your sales to share shopping carts in the SleekFlow inbox!
Whether you’re selling products or services physically or digitally, you can branch out your sales by displaying products on as many messaging channels as possible.
SleekFlow Custom Catalog supports multi-currencies and languages. If you want to set up stores for different regions, you can create multiple catalogs for free (not more than 500 products in total).
Are you selling products with multiple variants? For now, you can use SleekFlow tags to create categories while importing product information. Tagging allows you to search and sort products by category in the omnichannel inbox for product-links-sharing. The features that will let you add variants to a product with more than one option, like size or color, are on the roadmap.
2. Share shopping cart
On SleekFlow, you can add multiple products to a shopping cart, create a custom discount and send them with a one-click checkout link to your customer. Let them pay through credit cards, Apple Pay, or Google Pay, and fill in the shipping information and payment details on a single page.
A complicated checkout process hinders 87% of online shoppers, includes asking for too much information for new sign-up, too many tabs to jump from “Add to Cart” to “Buy Now,” and too many distractions on a checkout page (Things like pop ups messages, advertisements, sidebar menus, etc.)- Splitit
Note that we have shifted the “Add to Cart” and “Checkout Now” workload from the customers to your sales. All your customers have to do is chat. There is no need to navigate the digital aisle. They can get all the information they need to inform their buying decision from your sales associates without information overload kicking in. Less effort to checkout means fewer cart abandonment issues.
Looking for omnichannel payment solutions to boost sales? Check out SleekFlow’s solution for e-commerce businesses.
3. Track payment status
Upon sending a payment link, you can see the payment status in the SleekFlow inbox, including to be paid, expired, and paid. We also display the Payment ID, link creation time, and Payment URL alongside the chatroom. Check the statuses of all the shopping carts you have sent to the customer in a single view. Merchants can also customize link expiration period/ date in Settings.
4. Track omnichannel sales attribution
SleekFlow’s omnichannel payment solutions drive commerce beyond the buy button. We help merchants to leverage customer insights to understand how various segments navigate the digital customer journey. You can use the SleekFlow Sales Dashboard to track omnichannel sales performance by team or individual. Establish teams dedicated to specific customer segments or store locations. Set SMART goals with the following key metrics:
Product links shared
Click through rate
Payment links shared
Conversion rate
Converted amount
Benefits of selling on social via SleekFlow
SleekFlow provides software and hosting for your e-shop. We’ve covered the technical infrastructure required to launch the in-chat store so you can focus on revenue generation.
Share Article
